April 25, 2016
Baby chicks…they’re adorable, fluffy, and incredibly delicate! Despite their fragility, they’re actually pretty simple to raise. If you have some outdoor space and live in an area where it’s allowed, fresh eggs and meat (if you’re interested in that) can easily be yours!
This week’s self-reliance strategies are all about getting started with baby chicks.
I don’t have 20 years of experience with baby chickens, but I’m now on my 4th batch of them. Each new batch has been more successful than the one before. Just like any other new skill, it works best if you simply find a reliable guide, plunge in, and learn “on the job.” Below, we’ll talk about how to get started on the most adorable hobby around. Trust me – anyone can do this! This article is long, but it contains basically everything you need to know to get started raising baby chicks.
Before you start
We’ve all read about the war on self-reliance. It seems like feeding yourself is becoming increasingly illegal. People are forced to rip out thriving front-yard vegetable gardens, raw milk is illegal in many states, and some states require an “egg handler’s license” before you can sell, give away, or otherwise distribute fresh eggs. We’ve come a long way from the days when being self-reliant was seen as your patriotic duty.
Because of this, if you live in an urban or suburban area, be sure to check the bylaws before bringing your birds home. Often, you can find information on this forum about your town’s specific chicken bylaws.
It would be irresponsible to recommend breaking the law, of course. *coughs* I’ve heard that although chickens aren’t exactly stealth animals, sometimes if you pay protection in eggs, neighbors will look the other way as long as there are no roosters crowing at 4 am or hens enjoying their rosebushes as an afternoon snack. Discretion is the better part of valor, to borrow a phrase from Shakespeare.
I really love having a source of organic meat and eggs in my own backyard. Don’t be intimidated! I started as a total newbie just about a year ago, and thanks to the internet, my personal library, some knowledgeable friends, and the motivation to try out a new skill, we’re now successfully producing protein for ourselves. If I can do this, you can do this. Don’t wait until after a disaster to get started. It took the better part of a year before I had a reliable source of food from my chickens.
Where to get your baby chicks
Baby chicks are everywhere at this time of year. You can get yours mailed to you from a reputable hatchery (that’s where my current flock of 25 Freedom Ranger babies came from) or you can pick yours out at your local feed store. (That’s where I got most of last year’s babies.) Sometimes you can even buy older chicks which are closer to laying age and out of the fragile stage. (I got 3 Barred Rock girls that way last year, too.)
Here are some articles that go into more detail about acquiring your fluffy new babies.
Mail Order Chicks and Delivery Options
However you get them, it’s very likely that the baby chicks are only going to be a couple of days old when you get them home. Like any newborn, they’re exceptionally fragile. You may lose a few. It’s very sad when this happens, but most of the time, it isn’t your fault. Sometimes there is a physical issue with the chick that doesn’t allow it to survive, sometimes they get sick, and sometimes an accident occurs. (They’re prone to drowning in their water, for example, but we’ll talk about precautions.)
What supplies do you need before bringing them home?
Before you bring your babies home, you need to have a few things on hand. Here is my own list of must-haves.
A Brooder
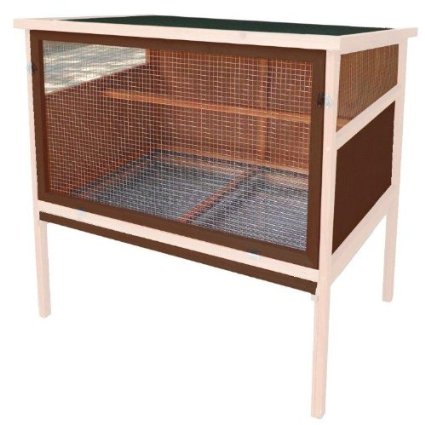
Mine is very similar to this one, but I had someone local build it for me. We keep it in the laundry room for the first week if it’s cold outside, then on the porch, then we move it out to the coop. The good thing about using something like this as a brooder is that it can pull double duty as your infirmary if you ever need to separate a sick or injured chicken from the flock.
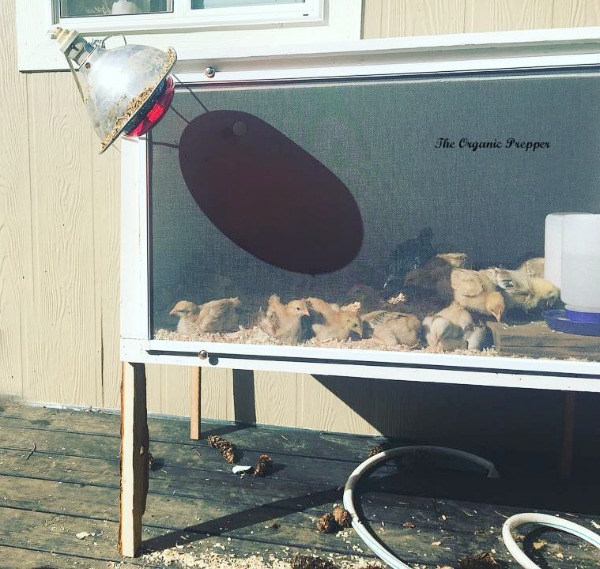
I plan to raise chickens for meat a couple of times per year, which makes a permanent brooder a good investment for me. Here’s my brooder out on our back deck.
However, if you are just raising a few backyard laying hens and not planning to raise new chickens every year, you don’t have to go crazy expensive. Below, you can find some really awesome DIYs.
Here’s one you can make for less than $12!
Before I got my big brooder, I made one similar to this, except I didn’t fasten the hardware cloth to the top. I cut the hardware cloth bigger than the opening of the Rubbermaid container where it would hang down over the edges, and simply snapped the lid with the hole cut out on top of it. I’m all about the shortcuts and not always the handiest soul around. 
Here are more articles about a brooder set-up.
This link has some videos about incubating eggs and brooding the chicks once they hatch.
How We Brood Chicks (there’s another really cool DIY brooder in this article.)
A heat source
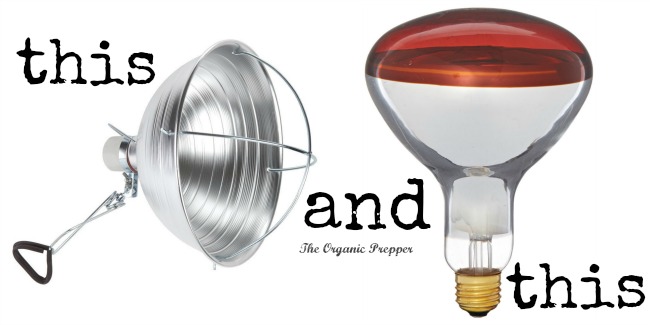
Baby chicks must stay warm, or they’ll die. If they were being raised by their mama, they would huddle underneath her to stay cozy. Since you are the mama, and if you sat on them it wouldn’t end well for anybody involved, you have to go with other methods. The least expensive way to keep them warm is by using a standard heat lamp and a red bulb. A red bulb is recommended instead of a white one so that the chicks sleep better. This is the method that I have used for all my chicks.
But please use extreme caution when heating this way. Many a tragedy has started with a heat lamp. I had a near fire from one out in a wooden chicken coop my first year raising chicks. Luckily, I caught it just as it began smoking, but it could have been a disaster. It can’t be touching anything flammable or meltable, nor can it be too close to the babies. Be sure to hang it in a way that the chicks can get away from the heat if they get too warm.
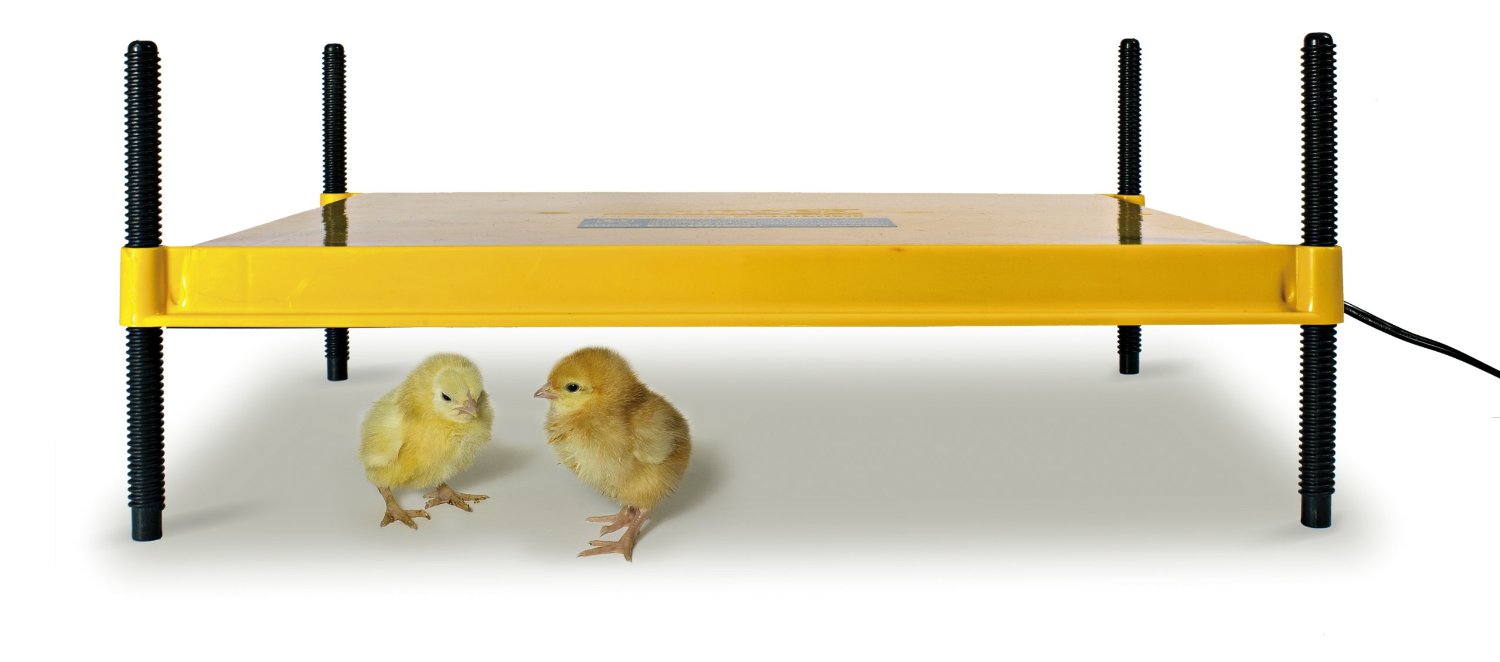
Another excellent heat source is the EcoGlow. This piece of awesomeness has far less risk of fire or harm to the chicks but it costs a lot more than the standard heat lamp. A friend of mine owns one and it’s a really great method of brooding chicks. You can raise it up as they grow, allowing more room underneath.
Invest in a cheap digital thermometer so you don’t have to guess about the temperature in the brooder. Here’s the rundown on the minimum temps the babies need:
Week 1: 95-100 degrees
Week 2: 90-95 degrees
Week 3: 85-90
Week 4: 80-85
Once they’re fully fledged (that means they have all their feathers instead of just fluff) they can handle lower temperatures.
Aside from a thermometer, here’s how you can tell if the temperature is right in the brooder.
If they’re all huddled together and making a lot of noise it means they’re cold and distressed.
If they’re spread far apart, lethargic, and panting, they’re too hot.
If they’re active, randomly spread out, and making happy little peeping noises, they’re just right.
My dog paid an unnerving amount of attention to the baby chicks in their brooder under the heat lamp.
Bedding
I use wood shavings for bedding, but you can also use straw. Be sure not to get something artificially scented, as this can cause respiratory problems for the delicate babies.
For the first couple of days, I put paper towels on top of the bedding so I can see their poop. See the section on health issues for the reason why.
Feeders and waterers
You’ll need some containers for feeding and watering your babies.
First, a note. Baby chicks are adorable, but they’re messy and they poop everywhere. That includes in their food and water containers. Initially I don’t like to use an open bowl for feeding for this very reason. It doesn’t seem to bother them much, but ew.
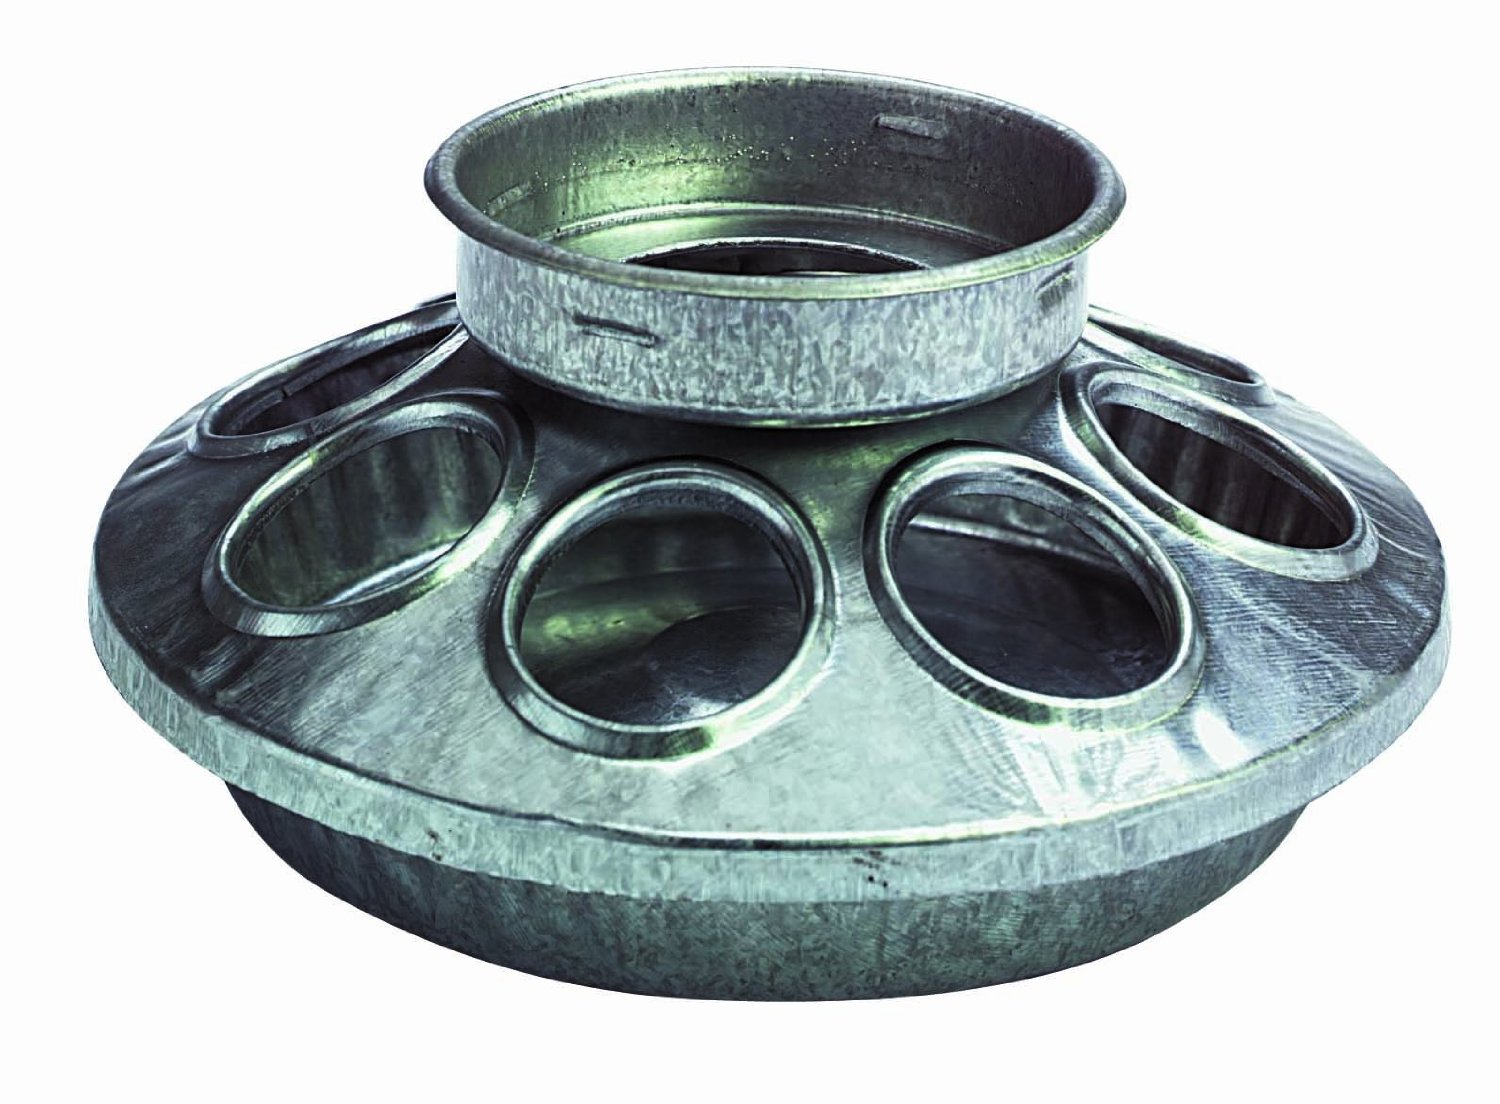
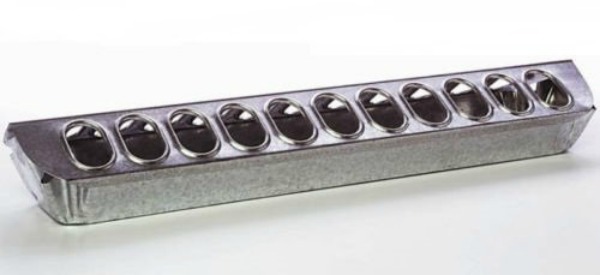
I have a couple of different feeders for the littles.
These are awesome because they are inexpensive and they simply screw on the bottom of a regular mouth quart jar. The jars can easily be sanitized in the dishwasher afterward. (They’re less than $5 at the time of publication.)
I also have one of these. I had so many chicks in my last batch that I had to set out 3 feeders for them to be certain everyone got something to eat.
For water, it’s really important to note that a lot of baby chicks die from drowning. It’s heartbreaking to see (thankfully it hasn’t happened to us!) There are two ways to avoid this.
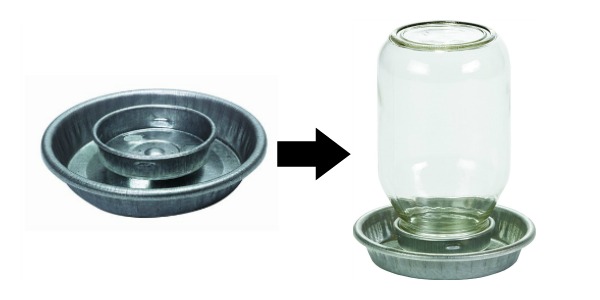
#1. First, you can get a water container that doesn’t have enough room for them to fall in and die. I like the kind that you screw on to the bottom of a mason jar. You can also get them in plastic but it’s only a few cents less. You’ll have to fill these several times throughout the day, depending on how many chicks you have.
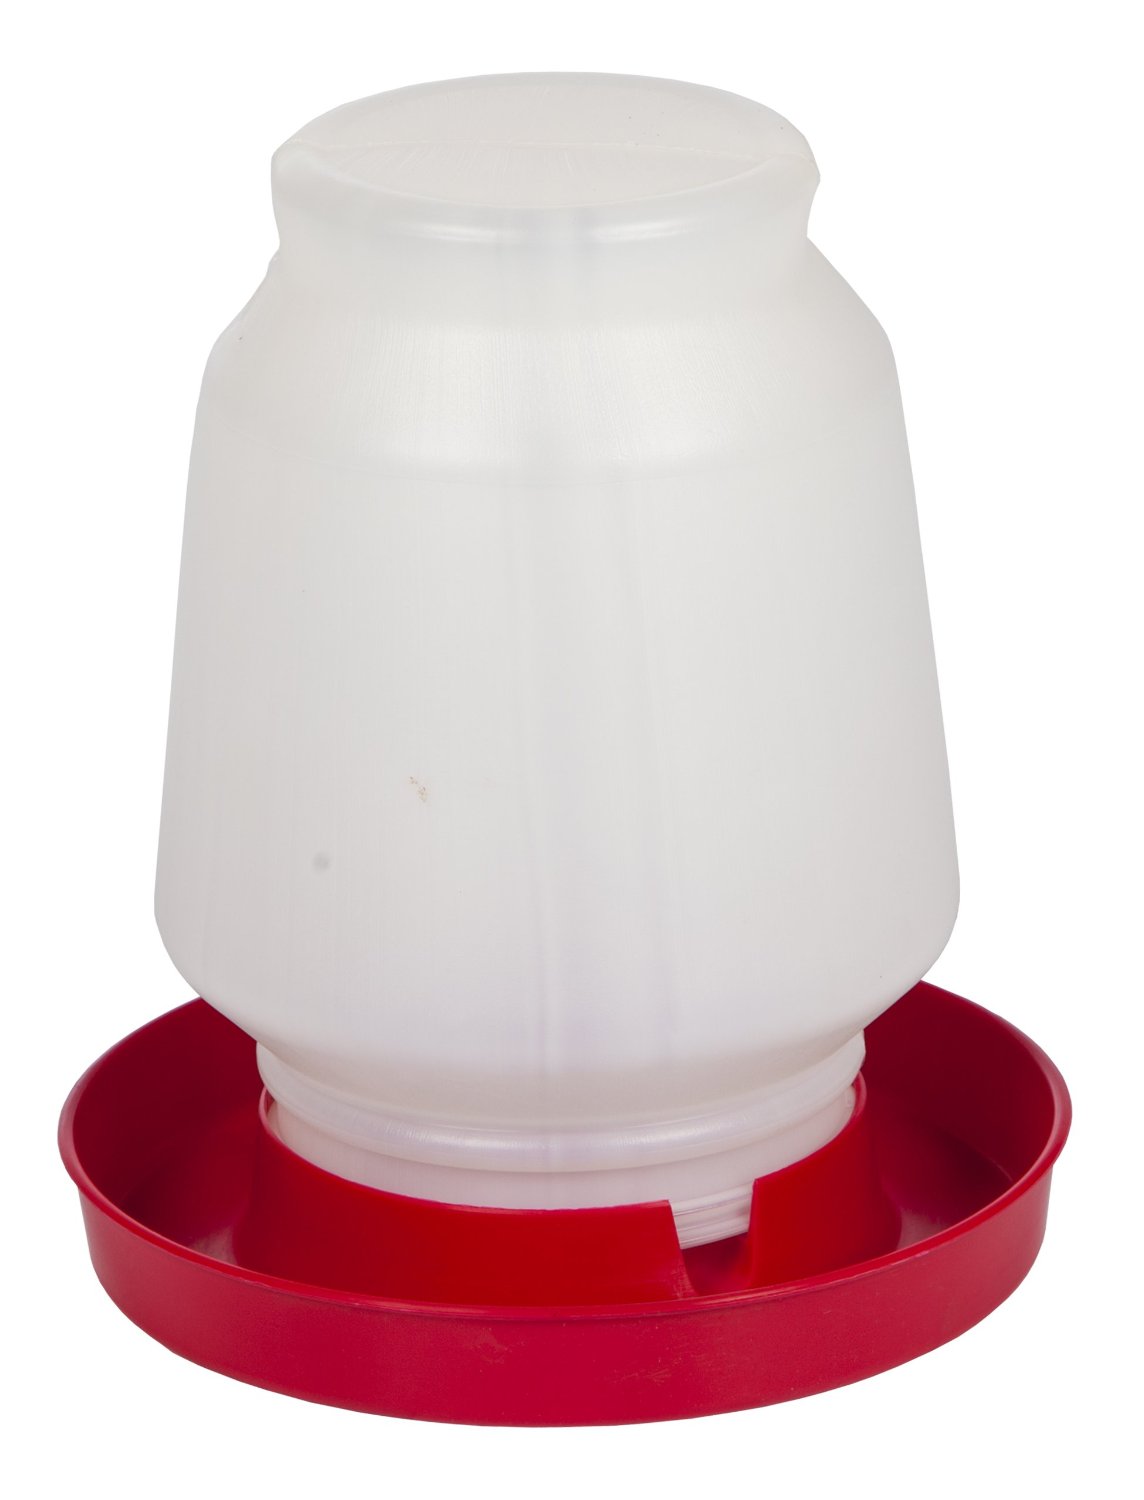
#2. You can use a bigger one-gallon water dispenser, but line the trough area with pebbles. this way, they can still get a drink but there isn’t room for them to fall in and be unable to get out. You will only have to do this for a week or so before they’re too big to fall in.
I like to raise the water dispenser up just a little bit to keep it from getting filled with bedding. The bedding can soak up the water like a sponge, leaving you with thirsty babies. You can use just about anything to raise it up. I have a couple of pieces of scrap wood beneath my waterers.
What to feed baby chicks
There are several different types of food on the market for baby chicks. You can get some inexpensive starter, but you probably aren’t giving your chicks the best beginning with it. It’s like feeding them fortified cereal. Instead of food with actual nutrients, the nutrients are artificially added to a stripped product. They’ll probably survive, but they won’t be as healthy as chicks fed a better quality of food.
The next debate is whether or not to give them medicated feed. Some people swear by giving them medicated feed for the first few weeks of their lives, claiming that all of the medication will be out of their systems by the time you consume the eggs (or the chickens if you’re raising them for meat.) It provides them with an immunity to coccidiosis.
Many people are raising chickens to provide them with organic eggs or meat at a better price. If that is your goal, you’ll want to go with an organic food. This starter is a high quality organic product at a reasonable price.
Another option is GMO-free feed if you aren’t worried about strictly organic. It’s a good happy medium between the low-quality “Doritoes” chicken feed and the expensive organic feed. You can usually find a good quality GMO-free crumble at your local feed store.
I always start out with crumble, which is coarsely ground, and as they get bigger, I mix the crumble with the pellets. I like pellets because there is far less waste. I also like to supplement them with fresh fruits and vegetables. However, if you are supplementing them, be sure to provide a little dish of grit to help with their digestion.
Baby chick health issues
Obviously, prevention is key. One great way to prevent illness in your chicks is to add 2 tbsp of apple cider vinegar to a gallon of water. (Get the good kind with the mother – the cheap stuff does absolutely nothing.) You can also get those little packets of probiotics to add to their water, but mine have been just fine with the ACV.
Coccidiosis: Remember how I said I put paper towels over the bedding for the first few days? That’s so I can check their poop. It’s important to check that on a daily basis. You’re looking for anything bloody. ( Turn off the red heat light if you’re using one because you can’t see bloody stool under a red light.) If you see anything with even a tinge of blood, you need to act immediately. This is a symptom of coccidiosis.
It’s not difficult to treat. Although this medication is labeled for use with calves, it can be used for baby chicks if you water it down sufficiently, as per my local feed store. Add 2 teaspoons of Corid to a gallon of water. They’ll generally consume enough if they aren’t too sick to drink.
Here’s an article with more information about coccidiosis in poultry.
Pasty butt: I lost several chicks in my first flock to pasty butt and it absolutely broke my heart. This is evident when their vent gets sealed shut with poop. If it becomes clogged, the waste backs up in the chick’s system and they can’t pass their waste. It’s essential during the first week or two after bringing them home to check everyone’s bottom on a twice daily basis. If there is a little clump of poo on the bottom, you have to act.
You will have to very gently remove the clump on their bottoms. BE CAREFUL. Just pulling on it can actually disembowel the poor baby. Also, you need to be certain it’s the vent and not the umbilical stump.
This video shows you how to clean the chick’s bottom.
This article gives you more information about pasty butt.
This article discusses a variety of chicken illnesses and symptoms.
How to raise your new babies.
So…you’ve got your babies home. They’re safely ensconced in the brooder. What now?
You need to keep them fed, watered, and warm. That’s about it!
- I free feed my chicks and try to make sure there is always food available for the first month or two.
- There should always be fresh water in the coop or brooder.
- Keep the temperature at the right range for their ages.
- Handle them briefly and gently a couple of times per day so they get used to you. It’s much easier to raise them if they aren’t terrified of the giant human.
- Check their bottoms 2x a day for signs of pasty butt. (You can do this while you handle them.)
These excellent resources can help you learn more about raising your baby chicks.
My absolute favorite resource is this course which teaches you how to raise them naturally even if you’re on a budget. It’s fantastic!
Here are some articles and books:
How to raise baby chicks naturally
Chickens: Naturally Raising a Sustainable Flock
How to Get Ready for New Baby Chicks
9 Things You Need for Starting Baby Chickens
Raising chicks for meat? There are a few differences
This time around, I’m raising chickens for meat instead of for eggs. Since this is a first for me, I did a bit of research. While the basics are the same, there are some breed differences of which you should be aware. These articles can help you.
Getting Started with Meat Chickens
8 Pounds in 8 Weeks: Raising Day Old Chicks for the Dinner Table
When they’re big kids…
Once they graduate from the brooder, it is time to introduce them to the rest of the flock. This can entail some bloodshet, so you need to be careful and supervise them well.
My most recent batch of chicks was housed in a dog kennel inside the coop with the Bigs. We had an awful storm the other night and the kennel began to flood. I had no option but to mix the flocks immediately, and fortunately it went well. That was, in part, because they were already accustomed to one another through the safe barrier of the kennel.
Here is an article about introducing baby chicks to your flock
Why should you raise your own chickens?
First, let me get on my animal-lover soapbox for a minute. The poultry and egg industries are enough to make you sick – both physically and emotionally.
More and more information is coming to light about the horrible mistreatment of the birds that provide us with meat and eggs. It’s enough to make a carnivore turn vegan. Even if you don’t care about the well-being of the animals, don’t even get me started on the food safety risks or raising animals the way that they do. If the creatures you consume for sustenance are ill then how can you expect to be healthy when you eat them? If they must be on antibiotics their entire tortured lives to survive, then is this really something you want to feed your family?
If you want more details, here is a horrifying, graphic article about the chicken industry. (No, it’s not by PETA – it’s by a friend who eats meat.) If you aren’t choosy about the chicken and eggs you purchase, you are, by default, endorsing this horrific abuse. *climbs off soap box*
If you can’t or won’t raise your own chickens, please, please consider finding a local farmer who raises his or her animals the traditional way and buy from them. Your business means a lot to them, and voting with your dollars is the only way to make Big Agri change their horrific practices.
On to more positive reasons.
When you raise your own chickens, you learn first-hand where your food comes from. You know what your birds ate, that they are healthy, that they haven’t been given risky supplements or medications, and that they were treated humanely. Unfortunately, the labels at the grocery store are basically meaningless, with the exception of “pasture-raised.” That’s a lot closer to what folks envision when they think about ethically raised poultry.
It’s also very economical to raise your own chickens. Have you checked out the price for organic, pasture-farmed eggs recently? Ouch! My hens eat about $20 worth of food per month and spend their days controlling the bugs and weeds for me. In return, I end up with 3-4 dozen eggs per week. Now, we can’t eat all of those eggs, but they are lovely gifts for friends without farms, and our Great Pyrenees loves them as a delightful addition to his dinner.
I get a lot of joy seeing my goofy hens frolic around the backyard. Each one has a distinct personality, and because they were hand raised, they’re all pretty friendly. If I walk out into the yard, I’m instantly surrounded by happy, feathered friends. My laying hens are like pets that provide us with eggs.
Questions or comments?
If you are a veteran chick raiser, please provide your best tips below! If you are new to chickens, let me know what’s holding you back from starting your own flock! Do you have any questions that I might be able to help with? I hope this article encourages you to take the plunge!

